- Home |
- Site Map |
- Contact Us
Steps to be taken by the Database Administrator (DBA):
- Follow these steps exactly. If you encounter any problems, immediately contact technical support.
- Verify that you have SQL Server Native Client installed.
- Run the following script to create the ECMPS Client Tool database on the shared network Microsoft SQL Server 2014/2016 database:
ECMPS Install Script for SQL Server 2014/2016 (ZIP) (6.5MB, About Zip Files) - Install Microsoft .Net 4.8 Framework on each workstation that will connect to the shared network ECMPS Client Tool database server.
Download Microsoft .Net 4.8 Framework - Determine if you have a 32-bit or 64-bit Operating Sytem.
How to tell if your computer has 32-bit or 64-bit Operating System - Install the 2024 Q1 version of the Client Tool on each workstation that will connect to the shared network ECMPS Client Tool database server. At the end of each installation, uncheck the box to launch the Client Tool.
Download the 32-bit ECMPS Client Tool 2024 Q1 Release (EXE) (28MB)
Download the 64-bit ECMPS Client Tool 2024 Q1 Release (EXE) (33MB)
For additional assistance with the installation, click one of the following links:
- Release Notes (PDF) (2 pp, 23K, About PDF)
- Installation Guide (PDF) (12 pp, 745K)
- Minimum System Requirements
- In each folder where the Client Tool is saved (which is C:\Program Files\ECMPS, by default), create two new folders named "Update" and "Downloads".
- Change each Client Tool configuration to connect to the shared network database using the Configuration Utility.
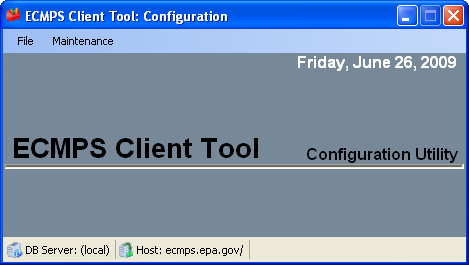
The Configuration Utility is accessed through Start | All Programs | ECMPS | ECMPS Client | ECMPS Configuration Utility.

The main screen of the Configuration Utility will be displayed:
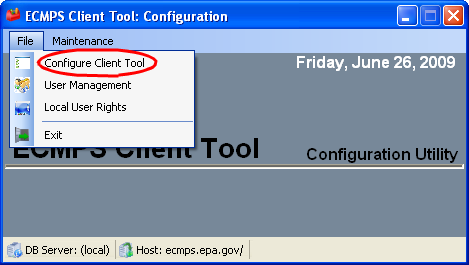
Select Configure Client Tool from the File Menu:
Update the Data Source and password based on information provided by your DBA:
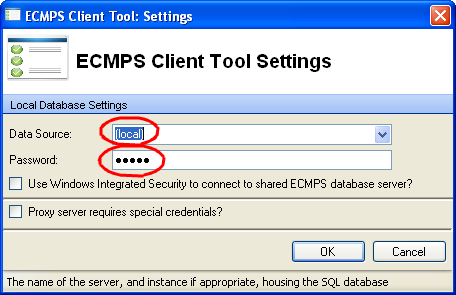
Also, check the "Use Integrated Windows Security to connect to shared ECMPS database server?" check box if your DBA indicates that you will be using Windows Integrated Security. For more information on Windows Integrated Security, view a PDF on the Client Tool and Integrated Security.
After making the changes, click the OK button and close out of the Configuration Utility.
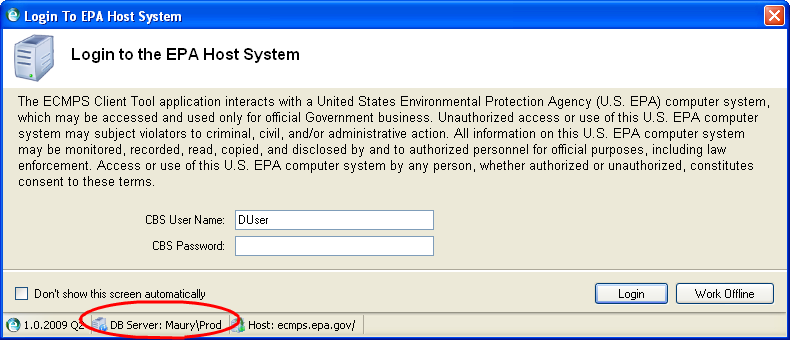
Start the Client Tool. The EPA Host System Login Screen should now display your shared network database as the Client Tool database: